This week, we get back to the new format of the newsletter. I’m posting a few essential articles to revisit, updates to know about, and one question to ponder:
Three short articles to revisit:
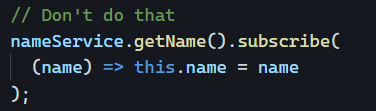
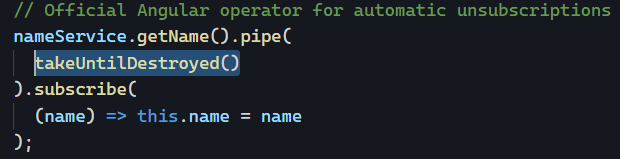
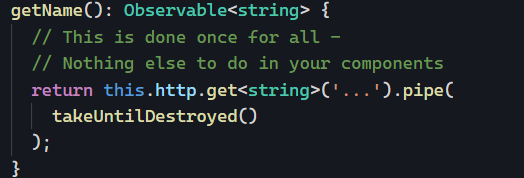
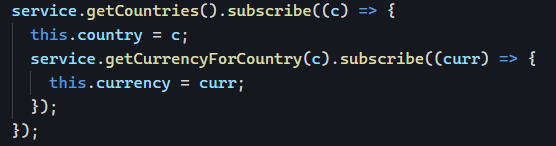
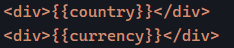
- If you subscribe to Observables within another subscription, you’ll want to read this as it’s an anti-pattern. The solution is to use the switchMap operator or another equivalent, such as mergeMap.
Two Angular updates:
- The Angular v19 Developer Event will launch on November 19th at 9 AM US/Pacific. You can learn more about live Angular Release parties around the globe here.
- Our FREE Angular workshops are back! You can register here to learn all about how to debug Angular apps on Monday November 18th at 10 AM US/Pacific.
You can also get $20 OFF or more by using coupon code BLACKFRIDAY24 at https://certificates.dev/angular which includes certification programs with training and bootcamp options organized by yours truly.
One question to think about:
Do your prefer Template driven forms or reactive? What about none of that? Have you ever considered that option?