We have discussed content projection before, as well as multi-slot content projection, a technique where we can pass multiple pieces of content from one component to another.
For instance, this can be useful when we want to customize a header, body, and footer of a card or a modal component. We need several different templates to pass to that component, and multi-slot content projection is ideal for this purpose (see an example in action on Stackblitz here).
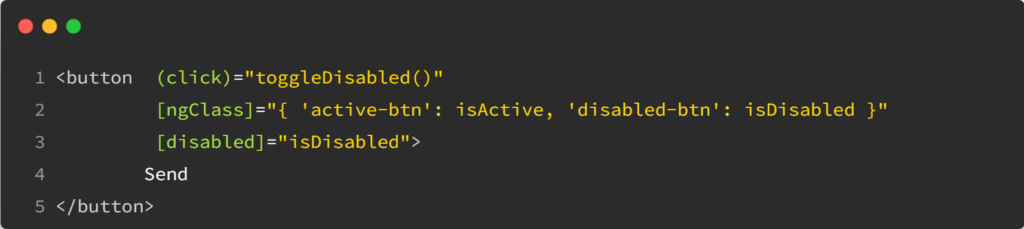
The only downside of such content projection is that it relies on selectors, which can be CSS classes, HTML tag names, or other similar elements. While that works, it’s not a great developer experience as it does not show explicitely when a piece of HTML is meant to be projected.
This is where aliases come into play. If we have the following child component code, expecting two different pieces of projected content:

With aliases, we can now project anything into those slots by using the attribute ngProjectAs in the parent component:
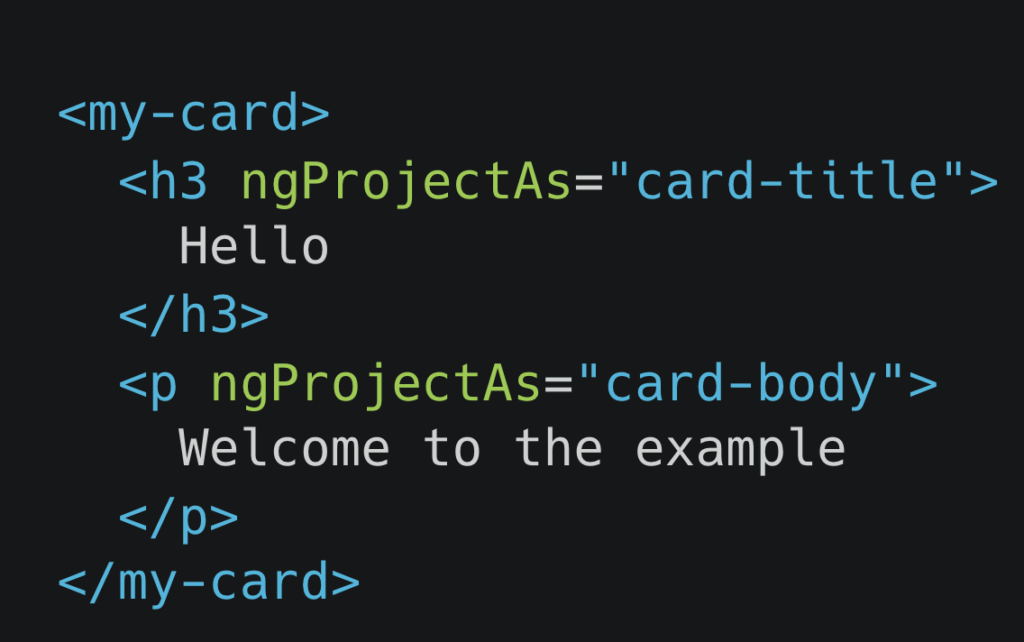
That way, we no longer rely on CSS selectors. We make it explicit that an element is meant to be projected in a given slot. This results in more robust code as it can’t break when CSS or HTML structures change.