For the second consecutive week, I want to experiment with a slightly different newsletter format inspired by James Clear’s 3-2-1 weekly newsletter. I aim to give you three short articles about Angular, two quick Angular ecosystem updates, and one question to make you think differently about the code you work with every day.
Three short articles to revisit:
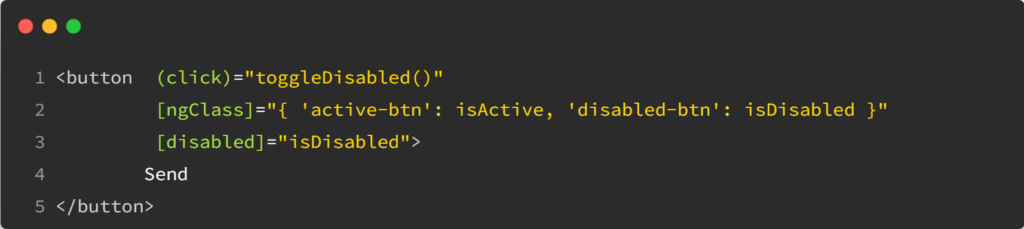
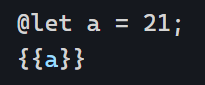
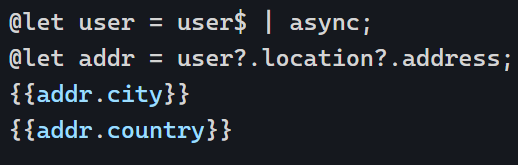
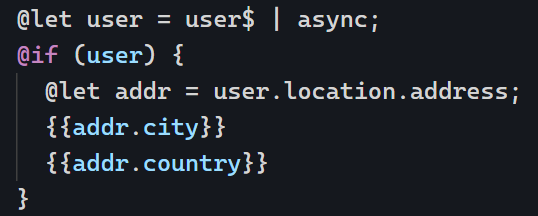
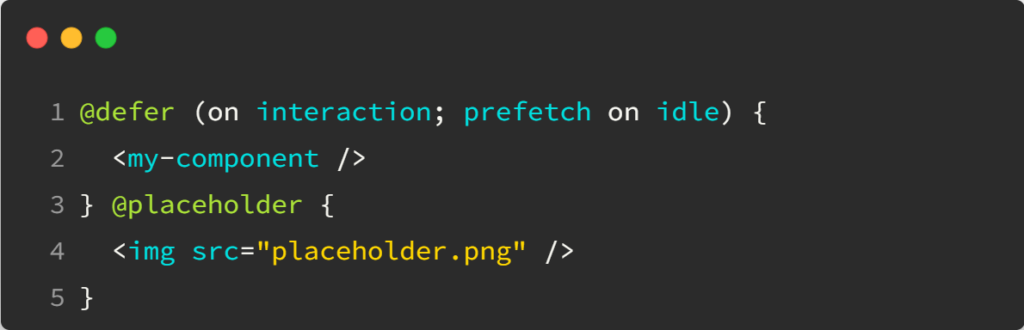
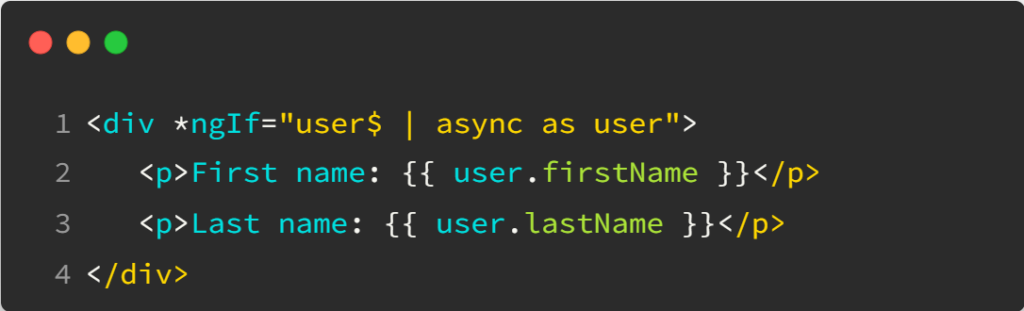
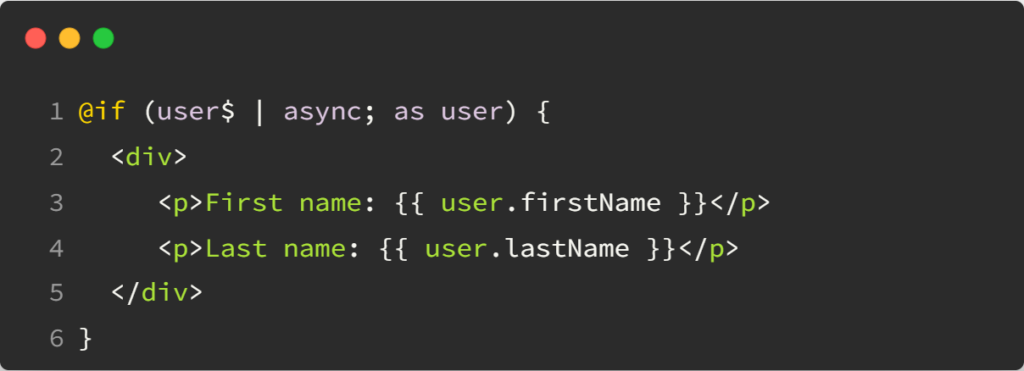
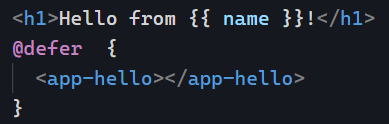
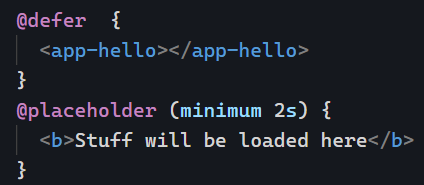
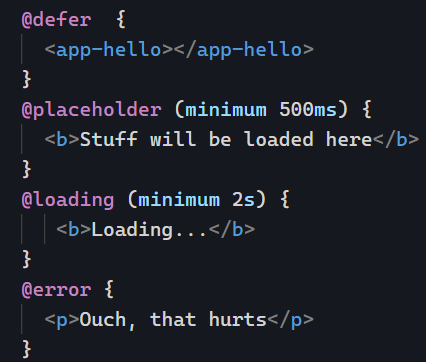
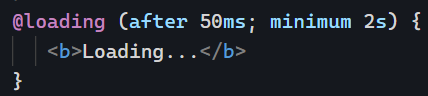
Read this short challenge on Angular template syntax and then look at the solution and explanations here, here, and here.
Two updates to know about:
- The Angular team is hosting a special event on YouTube today at 11 a.m. US/Pacific. If you miss the live event, a recording will be available shortly after.
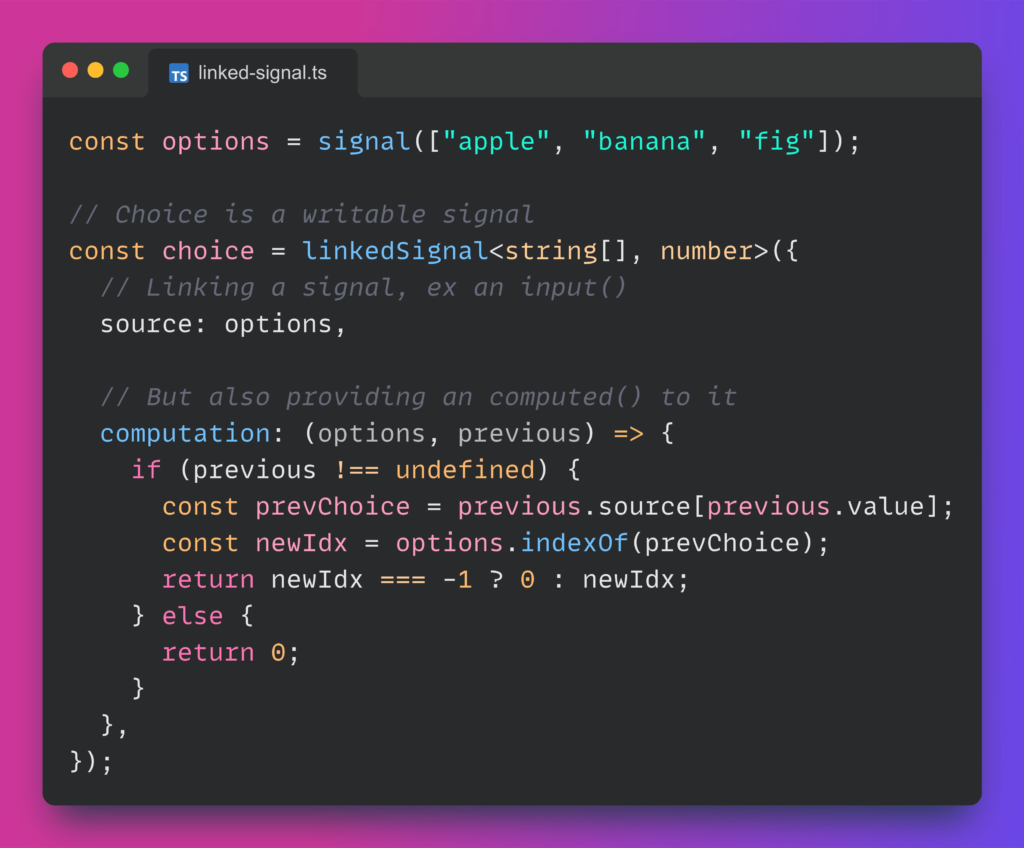
- A new feature called linkedSignal is in the works. So far, it seems similar to a computed signal that is also writable and only depends on one source signal.
One question to think about:
Do you know when to use the OnPush change detection strategy and how to differentiate container components from presentation components?
Let me know what you think about this different newsletter format. As always, it remains short and to the point. Also, if you have announcements you’d like to share in the newsletter, let me know.