Today, I’d like to challenge you with a small exercise. Take a minute to examine the three following code examples and decide which option performs best. Note how similar those three options are from a syntax standpoint, yet they yield very different results performance-wise:
Example #1 – Array of data
<div *ngFor="let data of getData()">{{data.name}}</div>
Example #2 – Observable
<div *ngFor="let data of getData() | async">{{data.name}}</div>
Example #3 – Signal
<div *ngFor="let data of dataSignal()">{{data.name}}</div>
Feel free to list the pros and cons of each approach. You can even respond to that email with your answers if you want. Tomorrow, I’ll give you my insights.
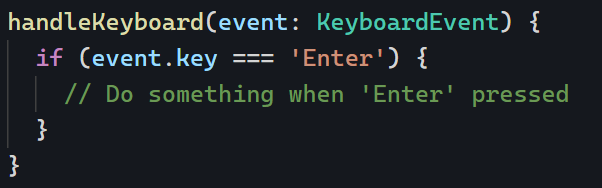
Let’s say we want to trigger an action when the user hits enter on their keyboard. We could do something like this, capturing the keydown event and then decide what to do based on the entered key:
While the above works, it’s pretty verbose. Instead, we can make our binding more specific by doing the following:
Now, that’s a lot more specific and less verbose. The same goes for class bindings. Here’s a lengthy example:
Since all we want to do is toggle the green class on or off based on a boolean expression, the following syntax is shorter and better:
This is a guest post by Tomas Kotlar. Thanks for your contribution, Tomas! Remember than anyone can reach out to me to contribute or suggest post ideas.
ngClass, as defined by the Angular documentation, is a built-in attribute directive that dynamically modifies the behavior of other HTML elements.
Common use cases
Conditional Styling
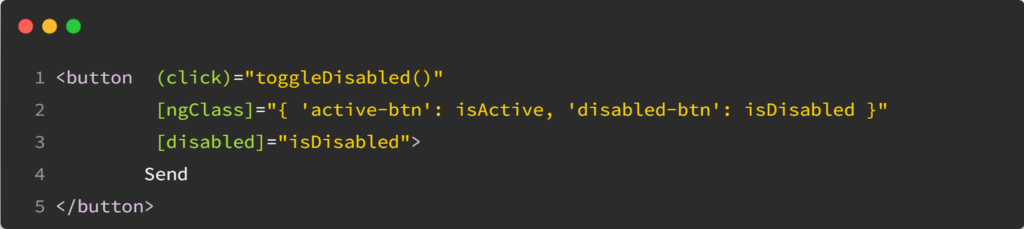
Let’s consider a button element that changes color based on whether it’s disabled or active. We can use ngClass to toggle between the ‘active-btn’ and ‘disabled-btn’ classes, giving the button a responsive touch:
Whenever the button is clicked, the toggleDisabled() function will be executed, toggling the value of isDisabled.
As a result, the button will become enabled or disabled based on the updated value of isDisabled, and the corresponding style (active or disabled) will be applied.
Using an Object
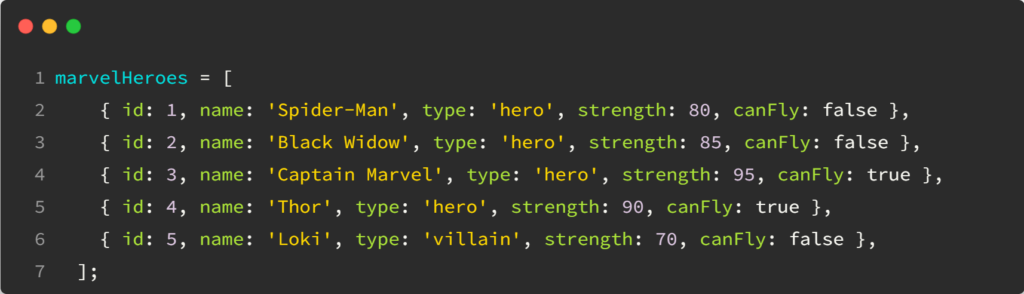
ngClass goes beyond just toggling classes. It also lets you iterate over object properties to apply your styles conditionally. This can be handy when working with data-driven apps or displaying dynamic content.
For example, using the following data:
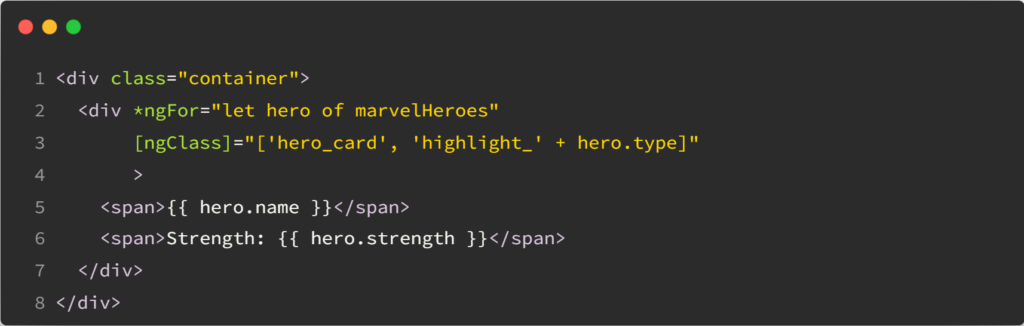
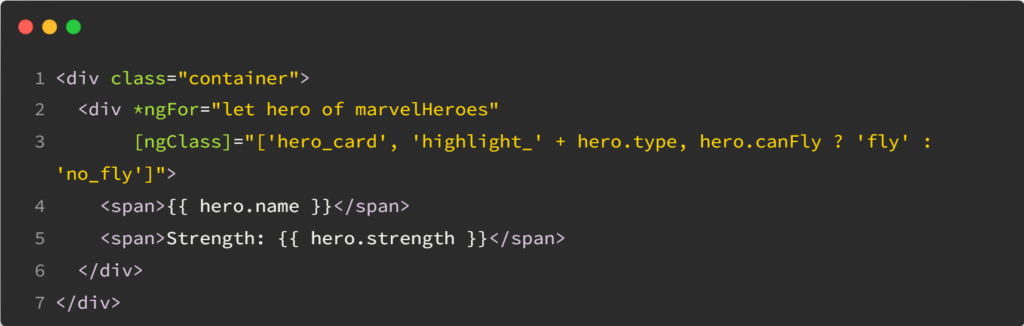
In our HTML, we can apply dynamic styles using an array:
Based on the type (‘hero’ or ‘villain’), the directive applies the appropriate highlight class to the hero card.
Combining classes using conditions
With ngClass, you can mix multiple CSS classes, toggling them individually or creating compound styles:
The hero cards will be highlighted for heroes who can fly and have a different style for heroes who cannot, based on the canFly property.
Angular CLI would perform the syntax updates throughout your Angular code, so there is no need to worry about rewriting those templates. You can find all the reasons why the Angular team decided on these syntaxes compared to other options in the RFC. You’re, of course, welcome to add your comments and suggestions to the list.
We use the ngFor directive so often that it’s easy to forget or even ignore some of its most powerful features.
For instance, it’s fairly common to access the index of an item in the array we’re working with, but there are five more local variables that can be used:
index: number: The index of the current item in the iterable.
count: number: The length of the iterable.
first: boolean: True when the item is the first item in the iterable.
last: boolean: True when the item is the last item in the iterable.
even: boolean: True when the item has an even index in the iterable.
odd: boolean: True when the item has an odd index in the iterable.
The syntax to use those local variables is as follows – and you can use as many as you want in a single ngFor directive like so:
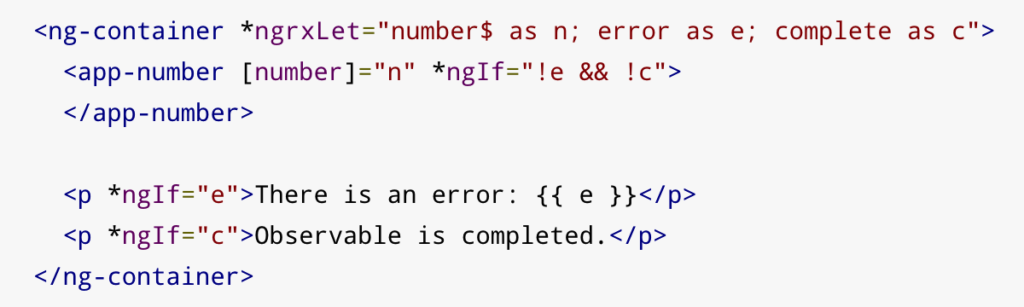
In the above code snippet, we receive the values emitted by the number$ observable in a variable n. We would receive any error in a variable e. We would receive the completion status (true or false) in a variable c.
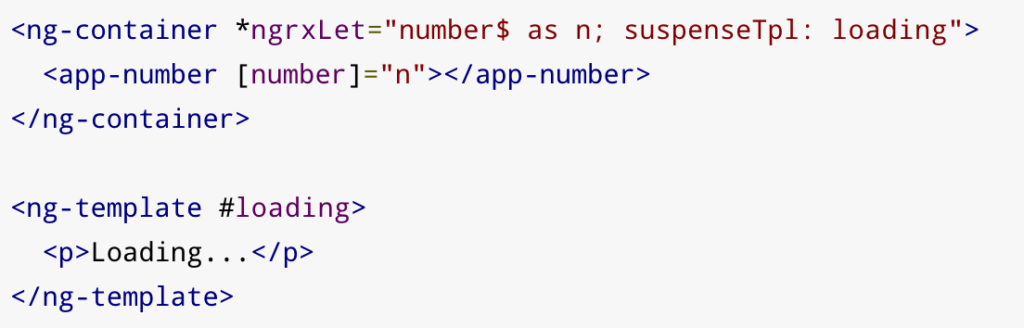
Of course, the loading template can be customized with anything you want, including a skeleton loader or an animated gif image. That feature is called a suspense template, and an observable is in a suspense state until it emits its first event (next, error, or complete as covered here).
A few months back, I suggested that Angular developers don’t use enough directives and use too many components. This is because components quickly become second nature when writing Angular code, while directives are less common and, as a result, can feel more complex at first.
The critical difference between components and directives is that components have an HTML template, and directives don’t. That lack of a template can be slightly uncomfortable at first unless you realize that you still have access to HTML attribute bindings but in a different manner.
For instance, let’s consider the following component template:
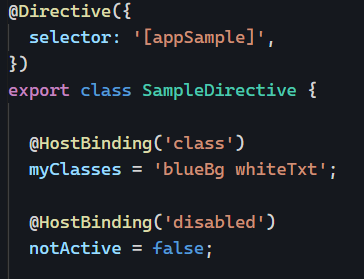
Those two bindings used in a directive would become:
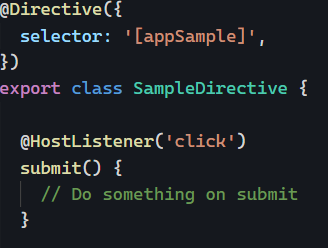
In other words, when you see a binding with [] in a component, @HostBinding() does the same thing in a directive.
For example: [id]="testId" in a component template becomes @HostBinding("id") testId; in a directive class.
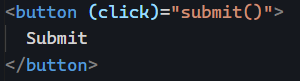
The same goes for event listeners. This component (click) binding:
If you’ve ever used [(ngModel)] with Angular, you know what two-way data binding is. The idea is to have a variable that works simultaneously as an Input and an Output.
In today’s post, we will see how to implement such a two-way data binding on our own so that we can use the [()] syntax on any of our component properties, such as message in the following code:
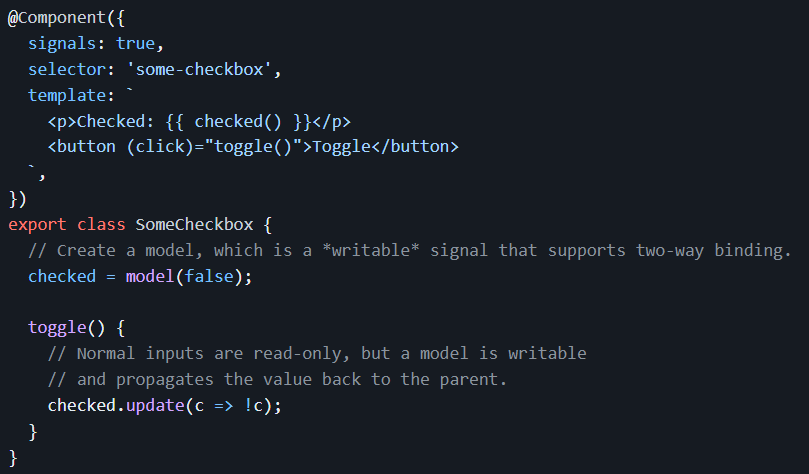
Before we get into this tutorial, I want to tease that signal-based components will have such two-way data bindings available out of the box with the following syntax – using a model() function instead of the @Input and @Output decorators we’re used to:
Note that the above feature will not be a part of the initial developer preview of Angular Signals coming out in less than two weeks with Angular 16. However, it might be available in developer preview in six months with Angular 17.