This is a guest post by Tomas Kotlar. Thanks for your contribution, Tomas! Remember than anyone can reach out to me to contribute or suggest post ideas.
ngClass, as defined by the Angular documentation, is a built-in attribute directive that dynamically modifies the behavior of other HTML elements.
Common use cases
Conditional Styling
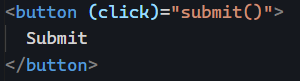
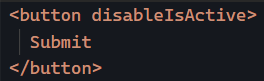
Let’s consider a button element that changes color based on whether it’s disabled or active. We can use ngClass to toggle between the ‘active-btn’ and ‘disabled-btn’ classes, giving the button a responsive touch:
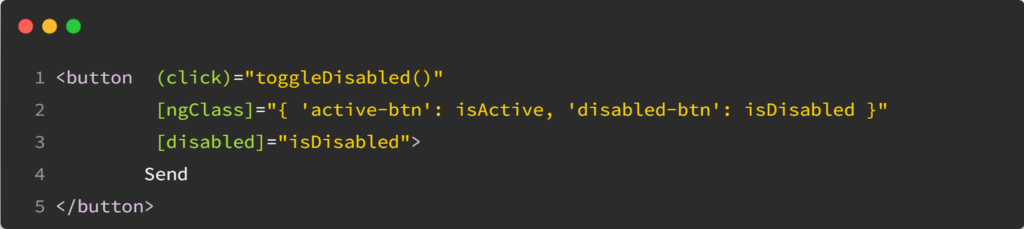
Whenever the button is clicked, the toggleDisabled() function will be executed, toggling the value of isDisabled.
As a result, the button will become enabled or disabled based on the updated value of isDisabled, and the corresponding style (active or disabled) will be applied.
Using an Object
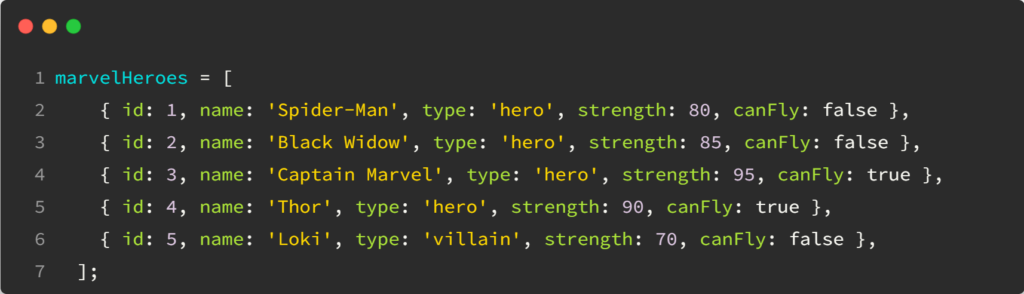
ngClass goes beyond just toggling classes. It also lets you iterate over object properties to apply your styles conditionally. This can be handy when working with data-driven apps or displaying dynamic content.
For example, using the following data:
In our HTML, we can apply dynamic styles using an array:
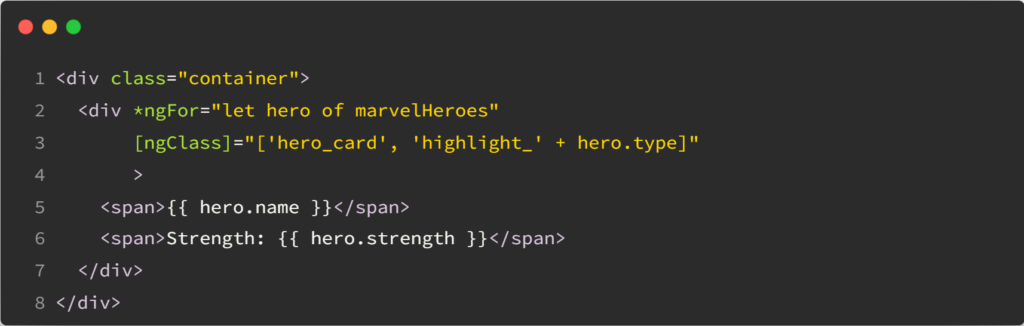
Based on the type (‘hero’ or ‘villain’), the directive applies the appropriate highlight class to the hero card.
Combining classes using conditions
With ngClass, you can mix multiple CSS classes, toggling them individually or creating compound styles:
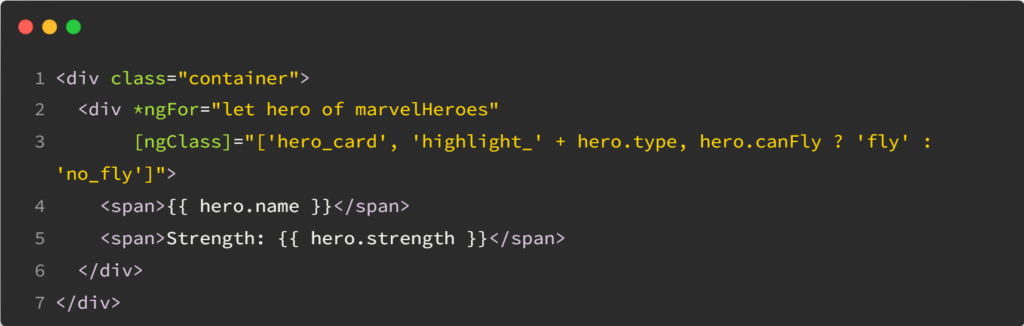
The hero cards will be highlighted for heroes who can fly and have a different style for heroes who cannot, based on the canFly property.