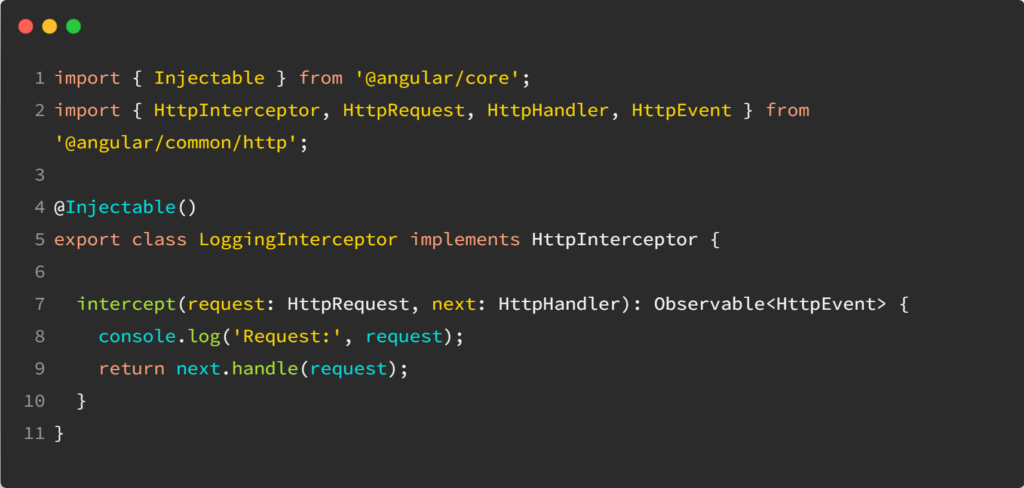
Yesterday, we talked about Typescript visibility modifiers in the context of Angular classes. Today, I want to focus on best practices and common scenarios that involve such visibility modifiers.
First, it’s very common to have Angular services that use RxJs Subjects. Subjects are somewhat dangerous because they can be used to emit data to all subscribers. As a result, it makes sense to “hide” a subject by making it private and then expose an Observable out of it as follows:
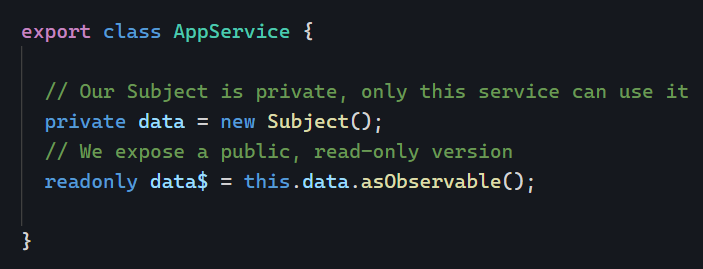
Note that we don’t need to make data$ public, because any field that isn’t private or protected is public by default. Using readonly enforces that other components/services cannot assign a new value to data$. As a result, the above code is safe: The business logic that decides when and how to emit data is “hidden” in our service (where it belongs), and yet the rest of the application can be notified when the data changes without being able to break that process by accident.
Of course, the same idea applies to Signals (see my best practices for Signals)
Another option suggested in that post is to define a getter method that returns the read-only object:
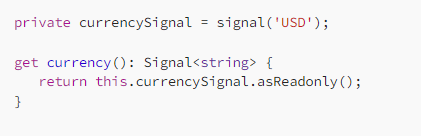
This is equivalent to using readonly. The value can’t be changed because we define a getter and no setter.
Let’s complete our best practices list from yesterday:
- Make every member
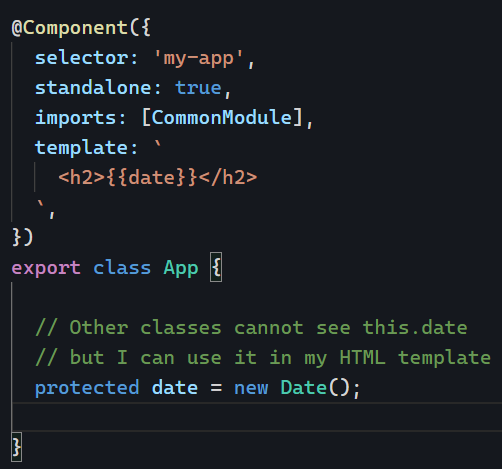
privateby default - If the member is needed in the template of a component, make it
protected - If the member is meant to be fully public, go with
public - If the member should be accessible but not modifiable, use
readonlyor a single getter with no setter