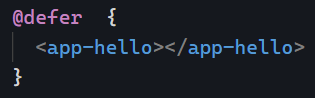
We introduced the new @defer block to lazy-load components on the screen. We saw that @defer includes several config options to display errors, placeholder, and loading templates.
Today, let’s focus on the possible triggers for such lazy loading.
idle
This is the default option. Will load the contents of that block once the browser is in an idle state:
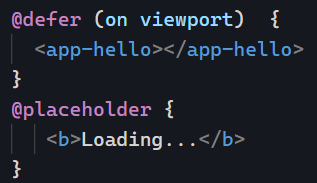
viewport
Triggers the deferred block when its content enters the viewport. For instance, that would be when the user scrolls down, and the block becomes “visible.” Note that this option requires a placeholder (used to detect when the element comes into the viewport):
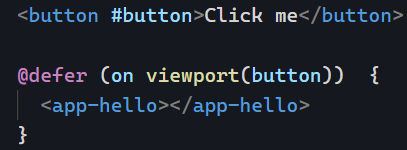
Another interesting option is to load the deferred block when another specified element makes it into the viewport using a template reference variable. That option does not require a placeholder:
interaction
Waits for the user to interact with the placeholder to load the deferred block. Even better, this trigger can be combined with another element so you can lazy-load a component on a button click, for instance:
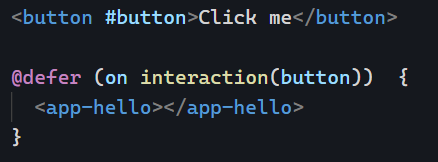
The above code can be tested on Stackblitz here.
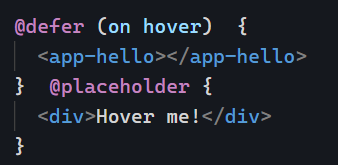
hover
Similar to the two previous examples. Waits for the user to hover over the placeholder or a specified element:
immediate and timer
immediate triggers the deferred block immediately as soon as Angular has finished rendering. Timer waits for a specified delay:

You can see most of these different examples on Stackblitz here. There are a few more options for @defer that I’ll cover later to keep this newsletter short and readable. It’s incredible what such a small API can do!