Now that we’ve covered both standalone components and lazy-loading Angular modules, we can introduce the concept of lazy-loading a standalone component, which wasn’t possible before Angular 14.
From a syntax standpoint, the only difference is that we use loadComponent instead of loadChildren. Everything else remains the same in terms of route configuration:

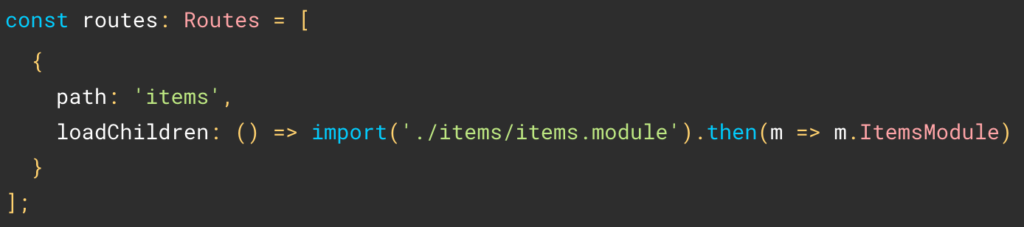
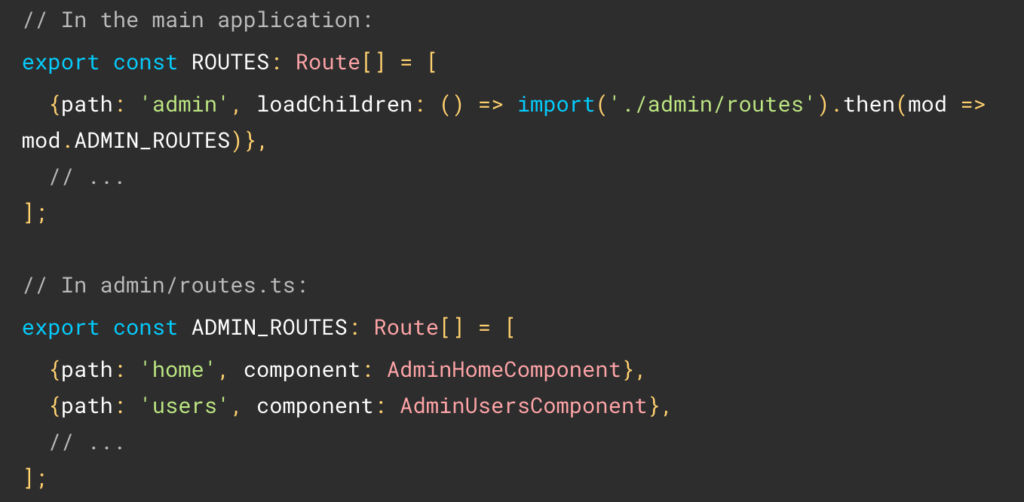
Now, one of the benefits of lazy-loading a module is that it can have its own routing config, thus lazy-loading multiple components for different routes at once.
The good news is that we can also lazy-load multiple standalone components. All it takes is creating a specific routing file that we point loadChildren to, like so:
One last cool thing to share today: Along with the above syntax, Angular now supports default exports in Typescript with both loadChildren and loadComponent.
This means that the previous verbose syntax:
loadComponent: () => import('./admin/panel.component').then(mod => mod.AdminPanelComponent)},
Can now become:
loadComponent: () => import('./admin/panel.component')
This works if that component is the default export in its file, meaning that the class declaration looks like this:
export default class PanelComponent
The same applies to loadChildren if the array of routes (or NgModule) is the default export in its file. You can see an example in Stackblitz here.