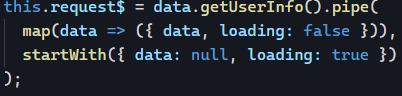
Typescript is excellent for type safety as it prevents us from making mistakes when declaring new objects. That said, an object is sometimes created by aggregating data from different sources (different API calls, for instance).
For instance, say we have the following interfaces:

We have to create an instance of the Question object, but let’s imagine that creating that object requires several steps. In the first step, I retrieve data for the question itself, and in the second step, I have to retrieve the list of options.
At first, my Question object would look like this:
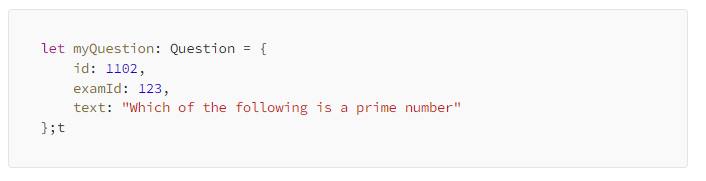
But this code won’t compile, as myQuestion is missing the options property. We could assign an empty array to options, or we could make it optional in the interface using this syntax: options?: Option[];
All of that seems like cheating, though. Instead, we can use the Partial utility type to indicate that our object is in a temporary state:
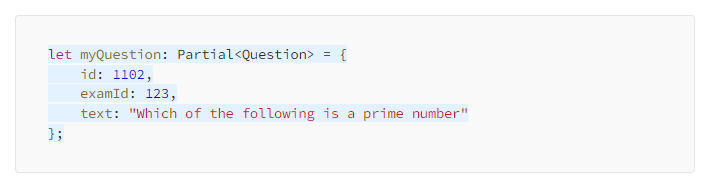
The compiler is happy with the above code; we don’t have to change our interfaces.
myQuestion is now an object that implements a subset of the Question interface, with all properties marked as optional.
Typescript has several more utility types like Partial. I’ll cover more of those in the upcoming newsletters.