After introducing state management concepts last week, let’s dive deeper and get into two essential concepts of state management libraries: Store and State. I’m using NgXs for these examples because the library’s syntax is the most straightforward and consistent with how Angular works, using Typescript decorators to configure the different classes.
The example we will be using is an online store where the user can change the currency and see the different prices get updated as a result:
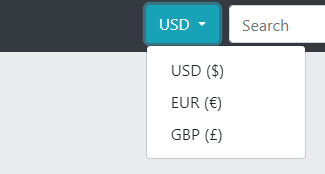
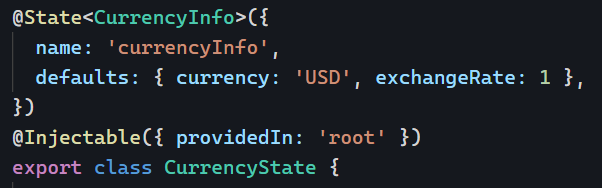
We want to manage that currency and the exchange rate that goes with it using state management. The first step is to create a piece of State that handles that data – and provide a name and default value for it:
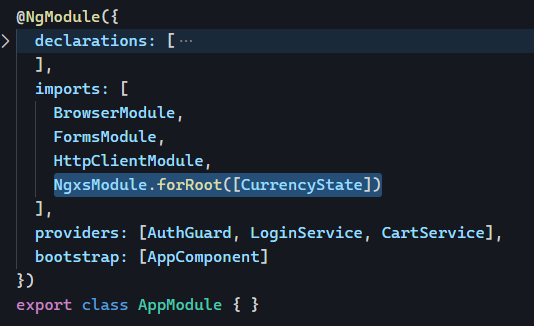
The above State has to be registered with the NgxsModule in our AppModule as follows:
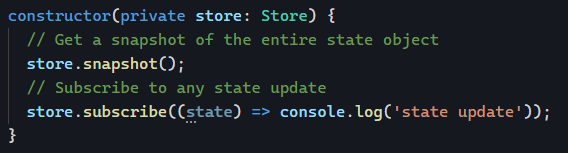
And that’s it! Now, to interact with that State, we can use the Store service and inject it wherever we need it:
Of course, you can create multiple pieces of State for your application using the same approach as above. Every new part of our State gets added as a property to the global state object. For instance, our current currency information can be found at state.currencyInfo. If we add a new State with a name set to cartContents, its data would be accessible under state.cartContents.
In the next post of this series, we’ll see how to use Actions to update the application’s State. You can see that example in action on Stackblitz.