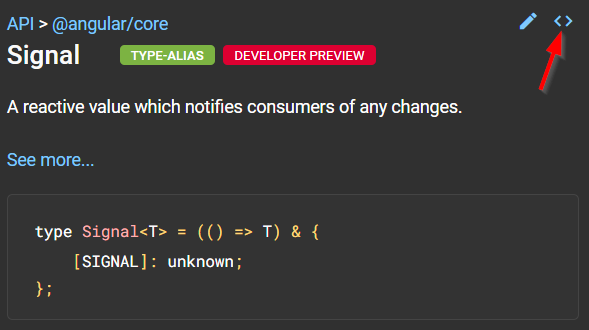
With the release of Angular 16, Signals are now available as a developer preview, which means we can start learning about Signals, testing them, and possibly adopting them.
The end goal of Signals is simple: Improve change detection in the Angular framework by removing the need for Zone.js. A signal-based application will be able to update individual views (a view is a sub-set of a component template — we create new views every time we use structural directives such as ngIf or ngFor) one by one instead of checking the entire component tree, enabling laser-focused updates of our DOM.
A secondary goal is to make Angular easier to learn by making RxJs less critical than before, which also applies to state management libraries such as NgRx or NgXs. In other words, we can rely less on operators, subjects, and the like.
Now that we covered the why, let’s talk about when to use signals. To get the full benefit of Signals in the long run, using them everywhere we have Observables or data bindings makes sense. I know this sounds like a lot of work, but that’s how we can get to a point where Angular can tell exactly which components must be updated when a value changes, no matter their location in the DOM tree.
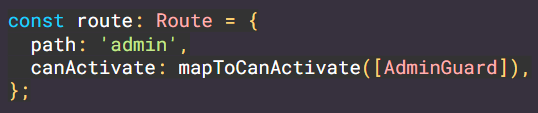
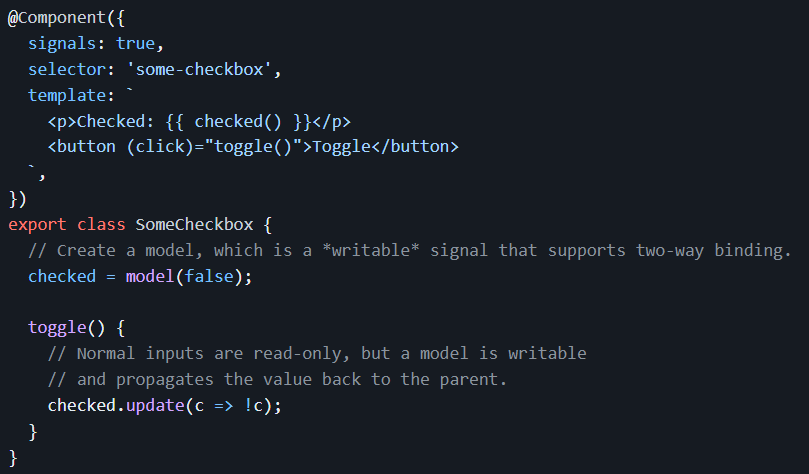
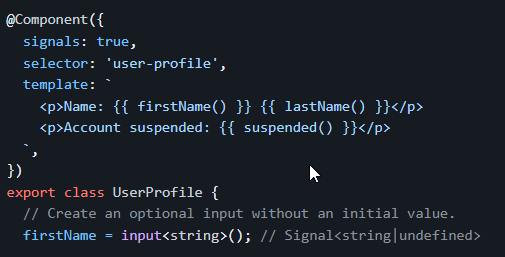
An upcoming feature of Angular (v17 or later) will be signal-based components, where inputs, outputs, and even two-way bindings will be expressed as Signals:
I believe it makes sense to start using Signals as soon as possible. The base API is available in Angular 16 and is easy to learn. I already published a course that will be continuously updated as Signals evolve.
If you have any specific questions or concerns, feel free to send me your questions. I’ll be covering more about Signals as part of this newsletter.